Live Tasks Queue
The Live Tasks Queue interface is part of the Administration Client and allows you to control:
- Scheduled Tasks Queue
- On Demand Tasks Queue
- Web Services Queue
Contents
Launching the Live Tasks Queue
To launch the Live Tasks Queue, hold down Control and press the Q key, or select "Server > Live Tasks Queue" from the top menu.
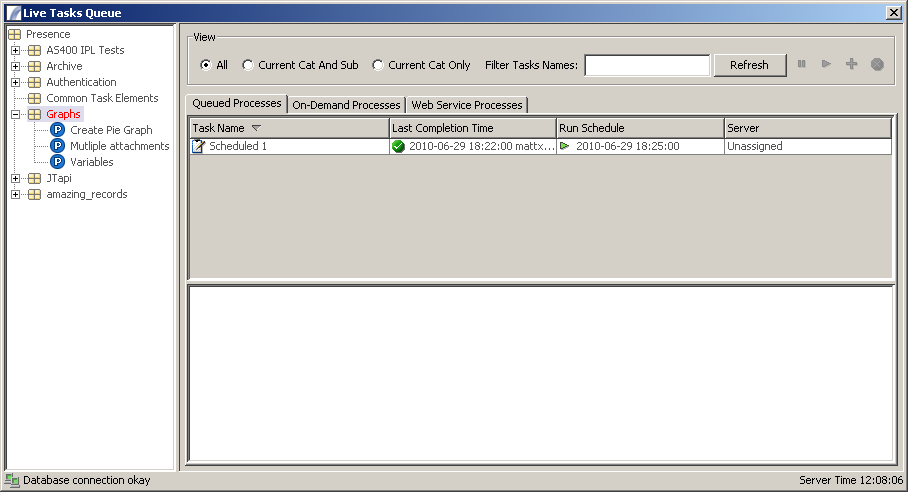
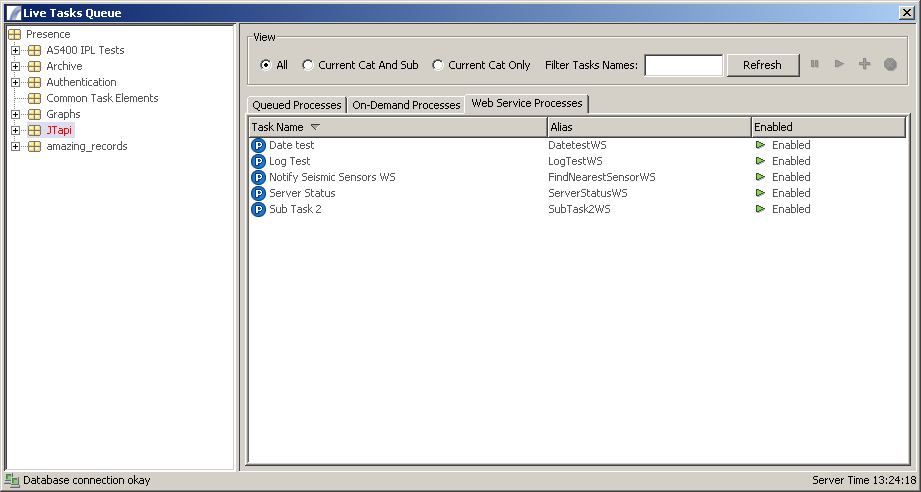
The Live Tasks Queue interface is divided into three main sections:
- Category and Task tree (west of screen)
- Filter Options and suspend / resume / add / remove controls (north)
- Tasks list (main)
- Server status and time (south)
The Tasks List consists of three tabs, one for each type of queue (see above).
Queued Processes
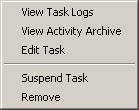
This is a list of processes that run automatically, usually controlled by a Schedule. This tab also allows you to view the most recent log entries for a Task when the Task is selected. If no Schedule is included in the Task it will automatically run every minute or so. Right-clicking on a Task brings up the following pop-up menu:
- View Task Logs
- Launches a new window displaying the detailed logs for this Task (if available).
- View Activity Archive
- Displays a high level list of times this Task and associated actions ran or failed
- Edit Task
- Opens the Task for editing in the main Task Designer
- Suspend Task
- Suspends the Task. If the Task is already suspended this will display "Resume Task" instead.
- Remove
- Removes the Task from the queue, preventing it from running in the future.
Note that you can also add a Task to the Live Tasks Queue by dragging it from the category tree to the left into the list.
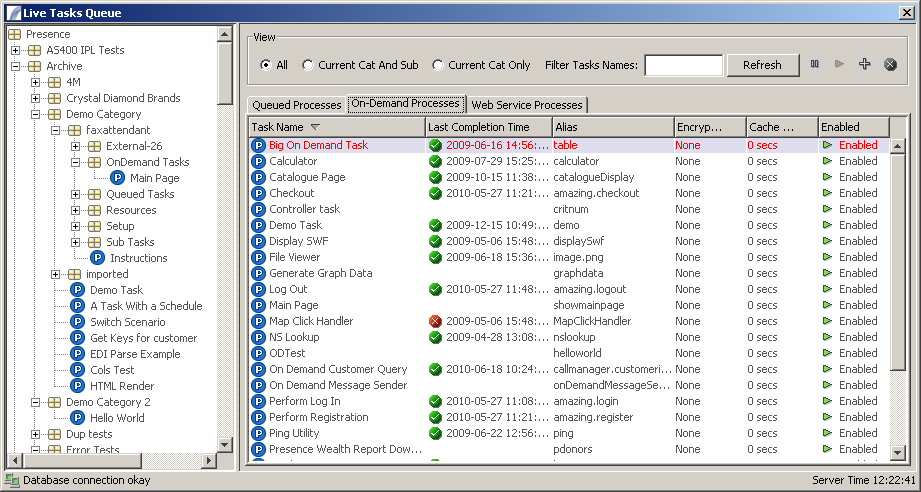
On Demand Processes
This displays a list of currently active On Demand Tasks, the last time the Tasks ran, the On Demand alias, encryption settings, the cache time, and the status.
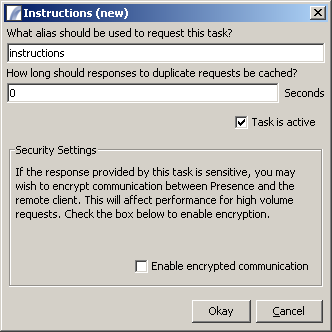
To enable a Task for On Demand requests it must be added to this list. Do this by dragging your Task from the tree view to the left and dropping it onto the list. You will then be presented with this dialog box:
This enables you to set the Task alias, the cache time (set this to 0 for no cache), whether it is suspended or active when added, and whether to use encryption.
The Task alias is how the Task is referenced when it is called by the On Demand client (web server). For example if your alias is "MyTask" and your web server is running on a machine named "presenceserver", you can call the task as follows:
http://presenceserver/task/MyTask
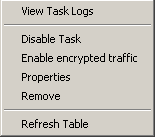
Right-clicking on an item in the On Demand Processes list brings up the following pop-up menu:
- View Task Logs
- Launches a new window displaying the detailed logs for this Task (if available).
- Disable Task
- Sets the status to Suspended, preventing requests to the Task. If the Task is already disabled this option will display "Enable Task" instead.
- Enable encrypted traffic
- Causes communications between the Web Server and Presence Server to be encrypted
- Properties
- Displays the On Demand properties window, as above when the Task is first added to the list.
- Remove
- Removes the Task from the list (it will no longer be available for On Demand requests).
- Refresh Table
- Performs a refresh on this list.
Web Service Processes
This tab displays, and allows you to add, Tasks which are available as SOAP / Web Service requests. Tasks that are included in this list will expose themselves in the Presence WSDL document and can be called by a web service client from outside Presence.
To add a Task to the list of Web Service Tasks drag it from the tree to the left into the main list. You will then be presented with the Web Service Properties dialog.
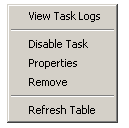
Right-clicking on a Task will display the following pop-up menu:
- View Task Logs
- Brings up the log viewer to allow you to inspect the Task's output log.
- Disable / Enable Task
- Enable or disable this Task as a Web Service.
- Properties
- Edit the Web Service Properties for the selected Task.
- Remove
- Delete the Task from the Web Services queue.
- Refresh Table
- Synchronizes the current view with the database.
