Custom Nodes
Contents
Introduction
Custom nodes allow you to wrap a Presence Task or Java class inside a simple to reference node. This aids re-use and standardizes parameters.
Typically, if you want to call a sub-Task in Presence, you would first have to make sure that the correct variables are being passed into the task. This process is often painstaking, as variable names have to match, and often requires one or more "set variable" nodes before invoking the sub-task (see below):
This is a common source of errors which can be difficult to debug. By turning your sub-task into a Custom Node, you can require implementers to enter the correct parameters each time they use the node, as with any other Presence task node.
Creating a new Custom Node
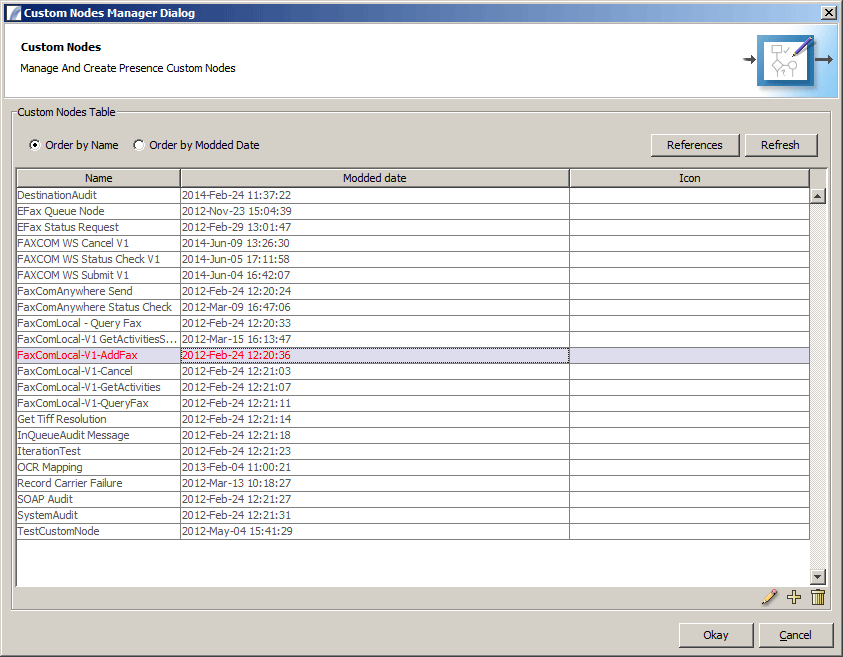
To create a new Custom Node for re-use, go to the Tools Menu > Custom Nodes. You will be presented with the Custom Nodes dialog box (see below):
The icons along the bottom have the following functions:
- Edit selected Custom Node
- Create new Custom Node
- Delete selected Custom Node
Introduction Screen
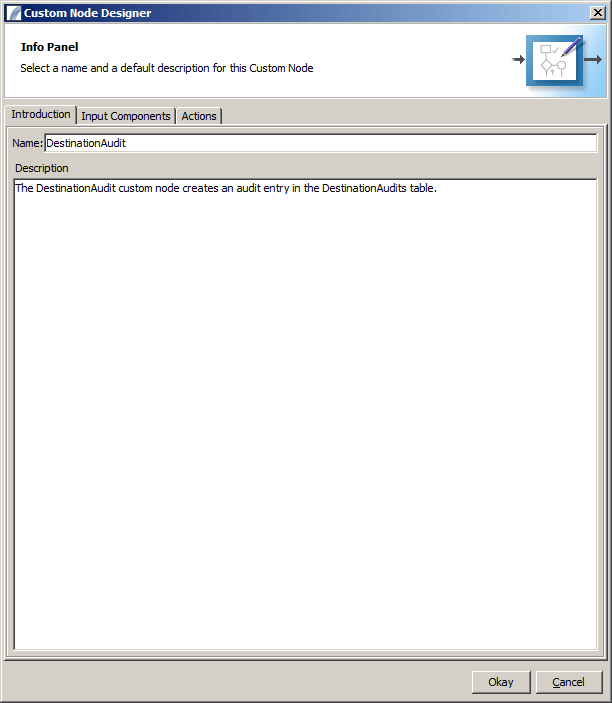
The first screen (Introduction) requires you to give the custom node a name and an optional description of the purpose. The example below is for logging audit messages to a database table.
Input Components Screen
This screen allows you to set up the custom node's input components, which is where users implementing the node will enter the input parameters.
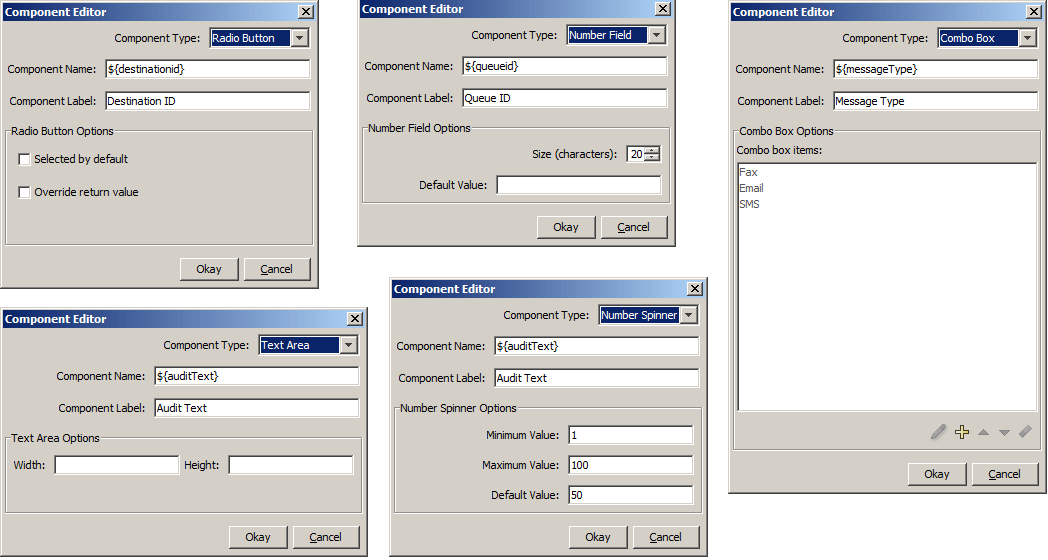
Input components can be of the following types:
- Text Field
- Password Field
- Radio Button
- Check Box
- Number Field
- Number spinner
- Text Area
- Combo Box
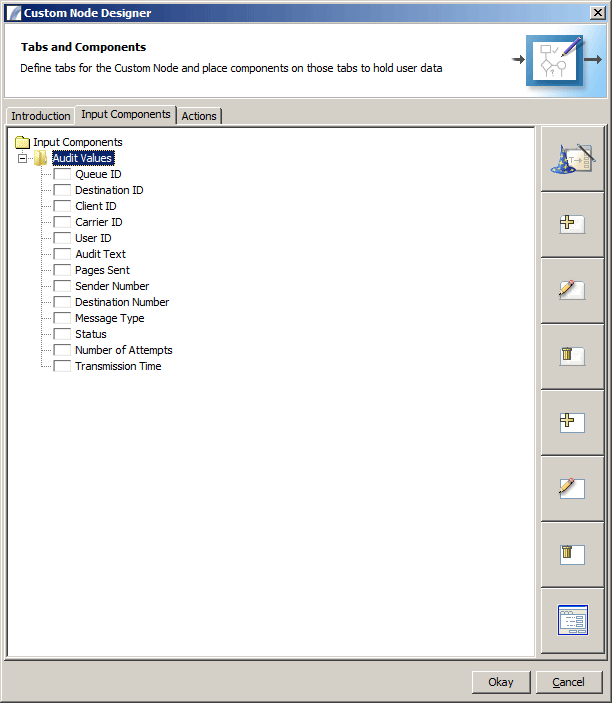
Components can be grouped together in separate tabs. This is recommended where lots of parameters are required. In the design screen, tabs are grouped together in folders within the tree. In the example above there is only one tab called "Audit Values", which contains 13 input components.
To create a new tab, click the "Add Tab" button. You can enter the tab label and tab header. Once this is done you can proceed to add components using the "add component" button.
You can preview the generated input dialog using the bottom "Preview" button.
Note that the "name" given to components corresponds to the variable name that will be passed into a Presence Task, and can be used as a reference to point to the value that should be passed as a parameter into a Java method.
Actions Panel
This is where you specify what the custom node should actually do when it is executed. It can either run a Presence Task, or it can invoke a Java class.
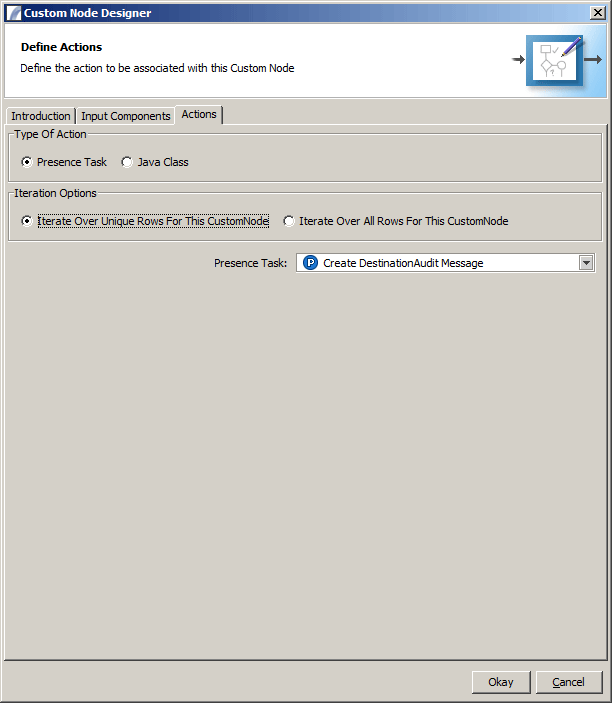
Invoking a Presence Task
To invoke a Presence Task, select "Presence Task" as "Type of Action", then select the Task from the dropdown Tasks list. The variable names specified in component names will be passed through to the task based on the user input.
You can specify whether the iteration strategy should ignore duplicate values (in the case of column variables) or process duplicate values.
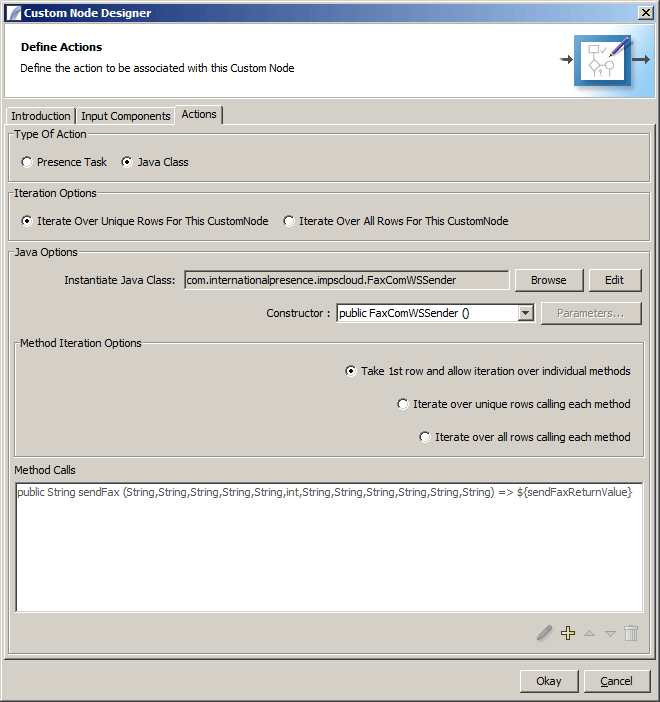
Invoking a Java class
Custom Java classes must extend the following superclass:
com.internationalpresnece.customnodes.helpers.CustomNodesGenericRunner
This provides help methods for logging to the Presence task logs through the "updateInfo(String)" method and the updateError(String) method.
There is also a CustomNodeReturnObject which allows you class to return a HashMap of variable values and a DataTable object.
Both of these classes are in presence.jar (in the lib directory of Presence)
When you have created your custom Java class it must be available on the Presence class path.
Again you can invoke the Java class once per unique row (if the data table is referenced in input values) or for every row regardless of uniqueness.
The two essential steps for invoking a Java class are as follows:
1) Constructor 2) Method calls
Constructor
The constructors are shown in a dropdown list, allowing you to quickly pick the correct one to us. Having selected a constructor, you can specify which parameters should be passed to it using the "Parameters" button. If you want to pass in values which the user has entered, use the same variable name as you specified in the input component name.
Method calls
One or more methods can be invoked dynamically. To add a method call, use the "add" button (a plus symbol) beneath the list. You can then select the appropriate method from the list which is generate by inspection. Once you have done this, add parameters by clicking the "Parameters" button. If the method returns an object, you can store it in a variable.
As with constructor parameters, dynamic user-defined values can be entered by specifying the variable name from the input component. Hold down control and press space to see suggestions which are taken from the components.
Using a Custom Node in your Task
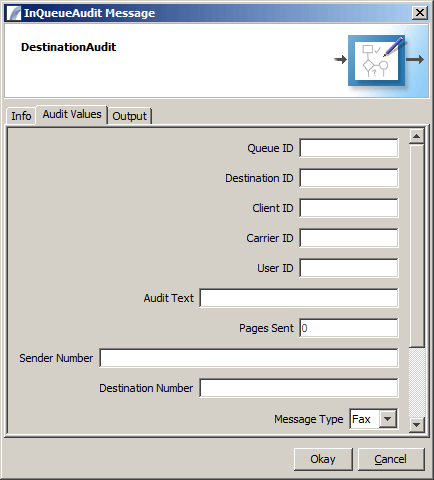
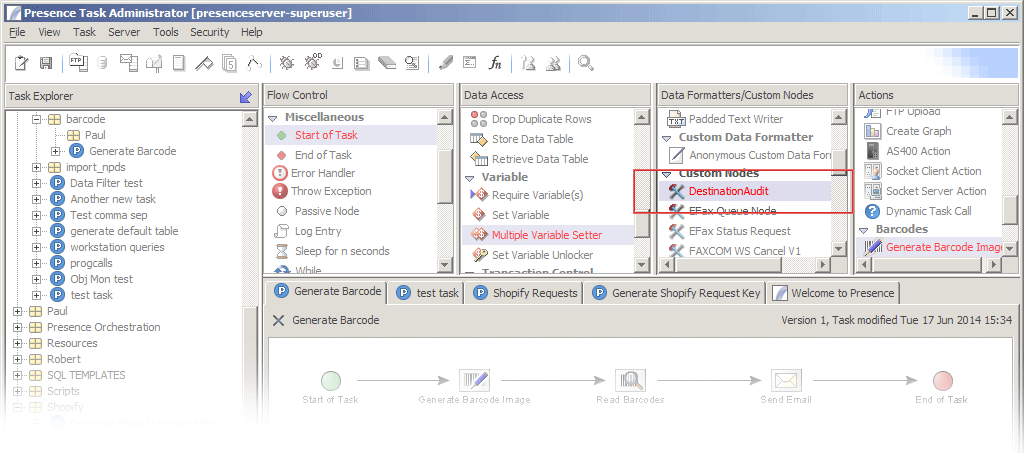
Once you have finished creating the custom node, it will appear in the Task Elements Toolbox:
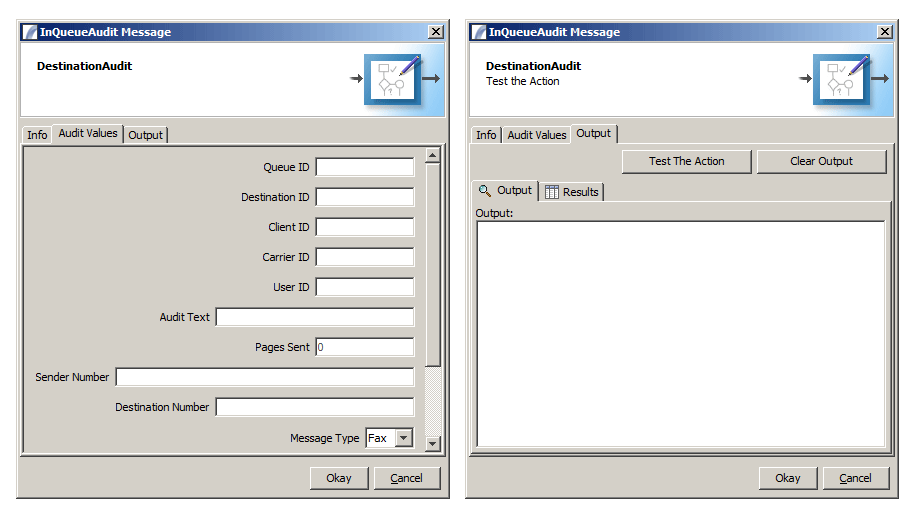
Simply drag the node into your Task to create an instance of it. You will then see the input panels which you designed in the above steps, however the behind-the-scenes functionality will be hidden.
Test The Action
Allows you to test the functionality of the custom node. If variables or column names are referenced you will be prompted to enter the values before the test runs.
See Also
Task Elements > Data Format Nodes > Custom Nodes
| CSV Writer | HTML Table Writer | Basic XML Writer | XML Document Writer |
| XSLT Processor | Padded Text Writer | Custom Data Formatter Standard Option | Custom Data Formatter PDF Option |
| Custom Nodes |
