Broadcast Messages
| Under Construction
This page (Broadcast Messages) is currently undergoing modifications and may be incomplete. We apologise for any inconvenience. No extra information has been provided. Questions? Email Us. |
Contents
Broadcast Messages
The Broadcast Messages Node allows you to send messages out in multiple formats and allows recipients to subscribe and unsubscribe to messages that are sent using a dedicated Web Application. This is a novel approach to alerting and removes the need for Presence Task administrators to have to manage which contacts receive alerts, puttinng responsibility on the recipient instead.
Messages can be sent in any combination of the following formats:
- Plain Text Email
- HTML Email
- Fax
- SMS
Subscribers can opt to receive any or all of the above. Messages are published to channels which are organised in a tree structure and can be individually secured (in which case join requests must be authorized by a channel administrator).
See also:
- Channel Manager (tray icon application) - A separate application that runs on your desktop to manage subscriptions and join requests
- Channel Subscription Web Application - Allows potential alert recipients to manage their contact details and which message channels they would like to subscribe to.
Channels
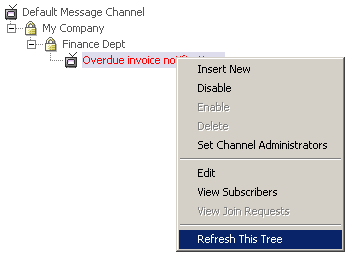
This tab allows you to manage the Message Channels and subscription requests. Right-clicking on a channel or channel group brings up a pop-up menu:
- Insert New - creates a new Channel at the current tree level.
- Disable - disables this Channel, prevents people from subscribing to it and messages being published to it. Note that if a Channel has subscribers you must first disable it and remove subscribers before you can delete it.
- Enable - re-enables a Channel that has been disabled.
- Delete - permanently deletes the channel. This cannot be done while there are subscribers and while the channel is enabled.
- Edit - edit the Channel properties.
- View subscribers - displays a list of recipients that have subscribed to this channel.
- View join requests - If the channel is secure, displays a list of requests to subscribe.
- Refresh this tree - synchronizes the tree view with the database.
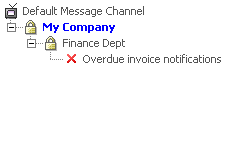
Note that if there are outstanding join requests the channel will be highlighted in blue:
Editing Channels
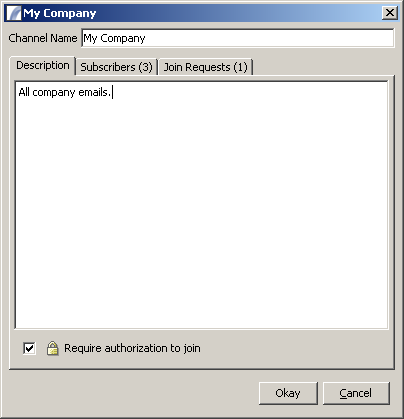
This is the dialog that is displayed if you edit or create a new Channel:
Here you can input the channel name, a description of the messages that will be broadcast on that channel, and set whether it is secure (i.e. people cannot join it without authorization).
Viewing subscribers
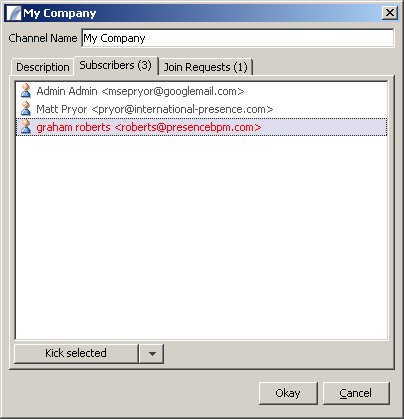
Clicking the "Subscribers" tab shows a list of people that are already subscribed to this Channel:
Here you can remove people from the Channel by clicking the "Kick" button. By clicking the arrow next to this button you can select a reason for the removal from predefined options. You will then be given the opportunity to send an email to the people you have kicked to tell them why, although you can skip this step.
Viewing Join Requests
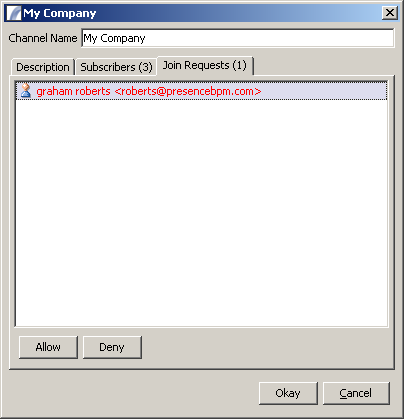
Clicking the "Join Requests" tab will display this panel, listing the people who have requested to be included in this channel broadcasts:
You can either allow or deny the request, and an optional email can be sent to inform them of the decision.
Selecting Channels To Broadcast To
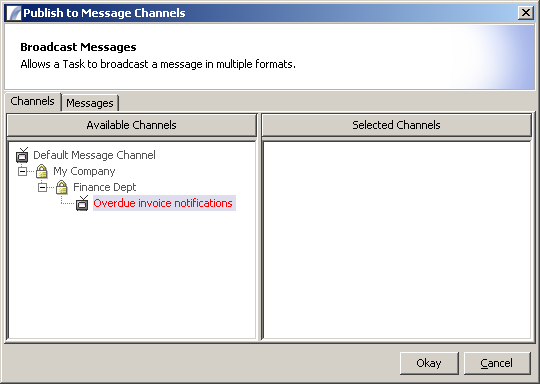
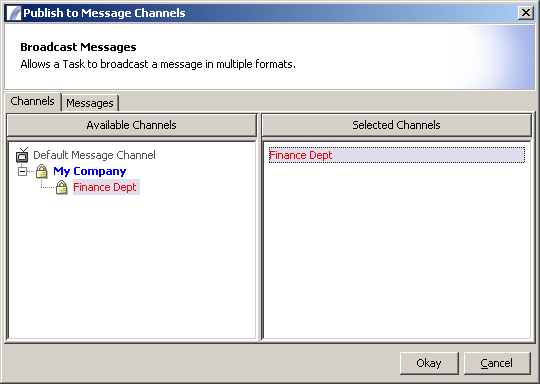
To select Channels to broadcast to, drag them from the left hand pane ("Available Channels") into the right hand pane ("Selected Channels"):
Messages
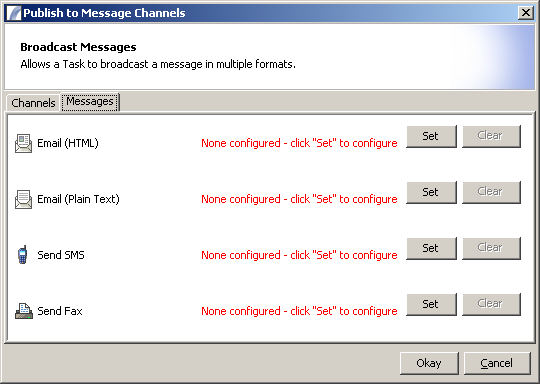
The Messages tab with no Messages created.
This tab allows you to create the message you wish to send in a variety of formats - i.e. HTML Email, Plain Text Email, SMS or Fax. To configure a message of the appropriate type, click the "Set" button. This will launch a dialog box for inputting the message details. It is similar to the regular Send Email, Send Fax and Send SMS input dialogs except that you are not able to specify recipients (as these are automatically discovered using the channel subscriptions). In addition the email editors do not allow you to specify whether the email is plain text or HTML, as this is also pre-determined.
Once a message has been configured for the type, the panel looks like this:
The Messages tab with an HTML email and an SMS configured.
When Messages are sent, they will be delivered in the appropriate format to the subscribers for the channel. In the example above the users would only receive the email if they had elected to receive HTML emails, and would also receive the SMS if they had elected to receive SMS messages.
See Also
Task Elements : Action Task Elements : Broadcast Messages
| Send Email | Send SMS | Send Fax | Broadcast Messages |
| Read Text File | Read Binary File | Write Text File | Write Binary File | Parse File Action |
| Rename File | Copy File | Delete File | Parse File Action |
| Generate Bar Code | Read Bar Code |
| Dynamic Task Call | Call Native Program | FTP Upload | Scorecard Collector | Create Graph | AS400 Action |
| Socket Client Action | Socket Server Action |
| JMS Producer | JMS Consumer |
